Refresh your memory by reading the April 16th post. This will differ as there are no motifs on the ribbon. Measure and cut your chipboard forms. Fluff one side of each with quilt batting

Backing fabric will go on one form and stitching on the other. Attach hanger from twisted cord or narrow ribbon.

Sew front to back. Remember to catch only the fabrics--no chipboard!
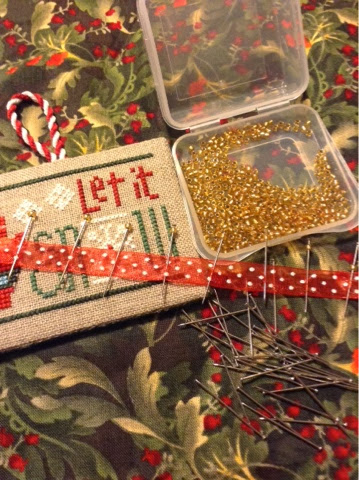
Assemble supplies--ribbon, straight pins and beads.

Leave about ten inches of ribbon and pick up a bead on a pin. Sew pin through the ribbon.

Continue to sew beaded pins through ribbon with about 1/2 inch between the pins. I cheat and use my thumb nail as a guide for placement.
Do about 15 pins and then start placing them in the ornament. Slip pins between the two layers of chip. Try and catch a little of the chip to secure them. Be careful as if you pierce the board you can catch a finger and bleed on the ornament...voice of experience!!! Start at the top middle.

Repeat process until you return to top middle. I use the end of a marker to push in the pins. It really saves the finger tips.

Tie ends into a bow and anchor now with a pin with two beads threaded onto it! Number 11 is finished. Tomorrow brings number twelve and the end of this series!!


No comments:
Post a Comment